
In Your Basket(0)
There are no more items in your cart
- Updated :
- Published :
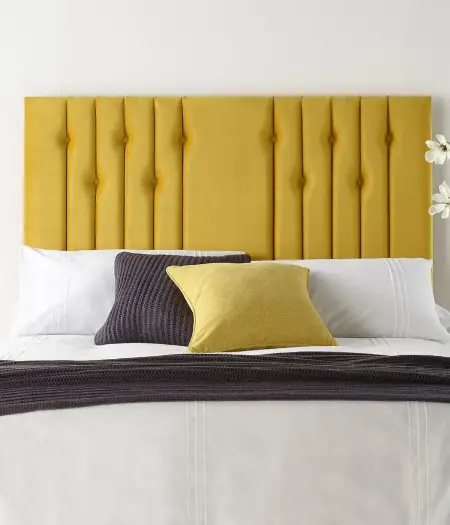
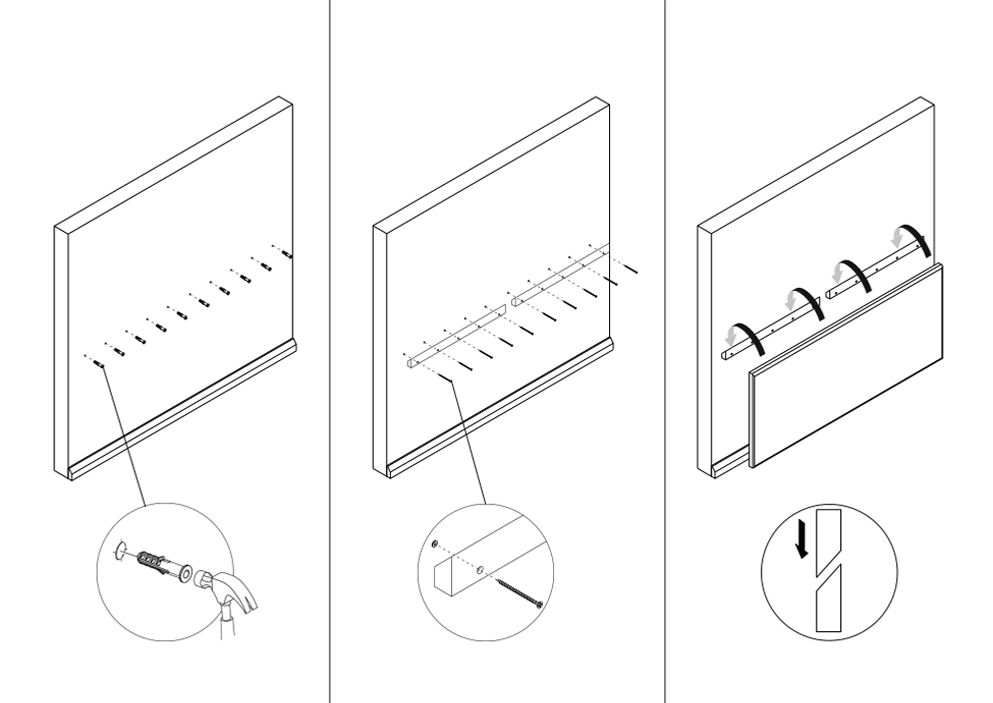
- Headboards
- 1 likes
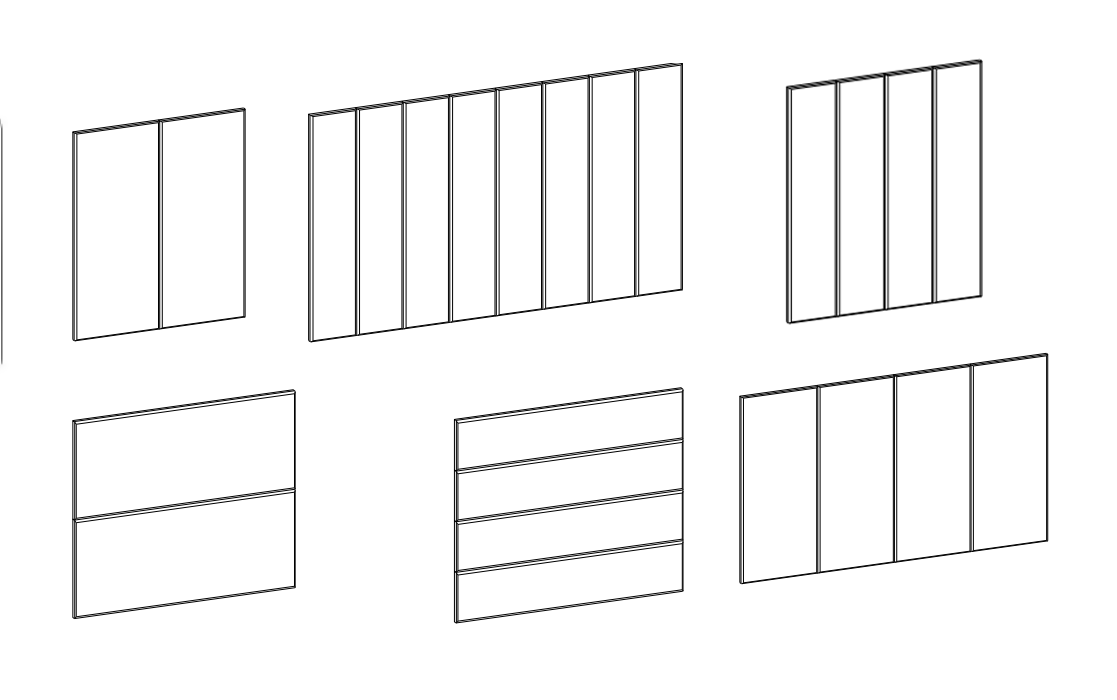

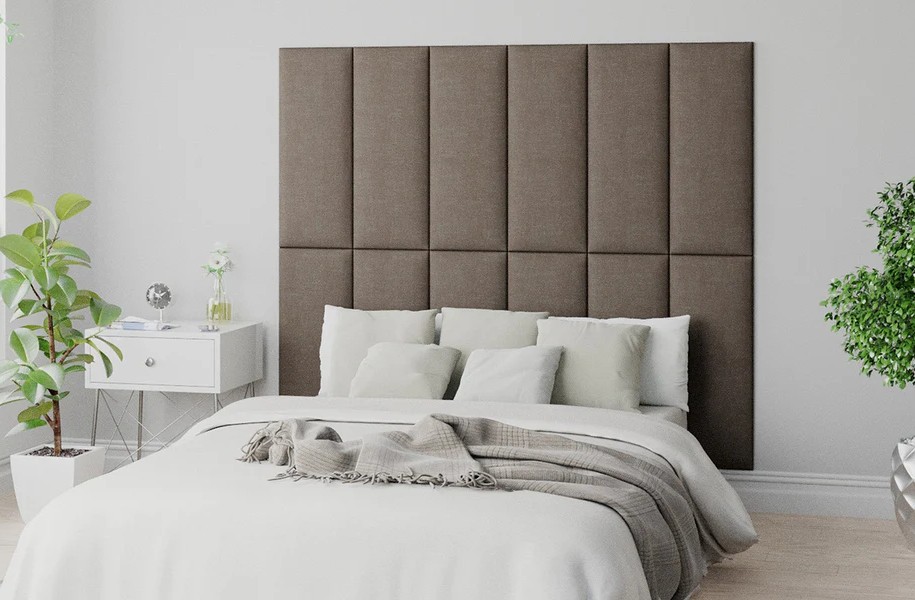
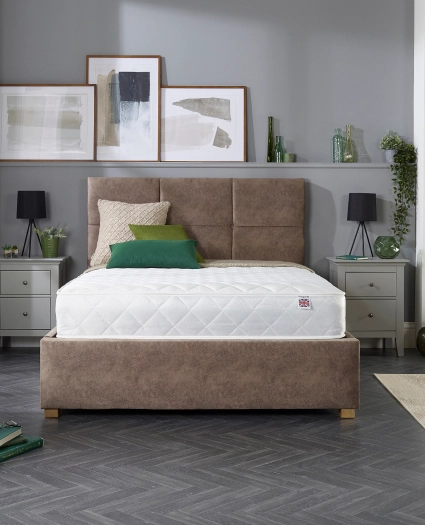
Customise your perfect bed with our range of leading fabrics, styles and designs
Build your bedCustomise your perfect bed with our range of leading fabrics, styles and designs
Build your bed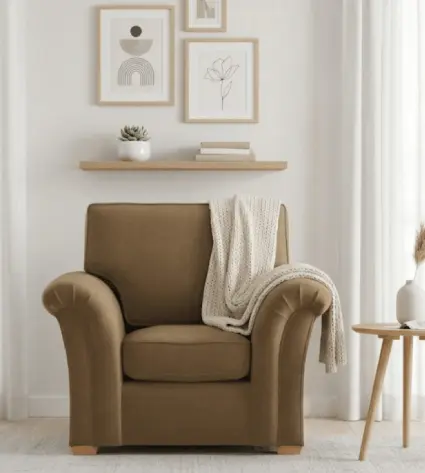
Everything you need to know about choosing the right sofa for your living space.
Sofa GuideCustomise your perfect bed with our range of leading fabrics, styles and designs
Build your bedCustomise your perfect bed with our range of leading fabrics, styles and designs
Build your bedEverything you need to know about choosing the right sofa for your living space.
Sofa Guide